- Published on
The story of my first time making a game on Phaser 3
- Authors
- Name
- Hoan Do


Hello everyone, I'm going to tell you a story about how I developed my first game using Phaser 3 on a website and this is the first game I've ever written.
You can try playing the game here: skybound Let's go
Step 0: The origin of the idea
The idea for Skybound originated from the game Mario and the way the character jumps on turtles, which has a very interesting effect. So I decided to build upon that idea to create Skybound.
Step 1: Choose a suitable template for development and architect the folder structure
During my research, I found two very useful repositories for newbies:
phaser3-typescript-project-template phaser-project-template
Sure, if your game is targeting multiplayer functionality using socket.io, then the second repository phaser-project-template would be a suitable choice. It provides a Phaser 3 starter template with TypeScript and webpack, which can be a good foundation for building multiplayer games using socket.io.
With Skybound, I have chosen the repository 'phaser3-typescript-project-template' for development.
Below is the complete folder structure for the Skybound project:
├── .gitignore
├── dist
├── package.json
├── README.md
├── rollup.config.dev.mjs
├── rollup.config.dist.mjs
├── src
│  ├── config
│  │  └── index.ts
│  ├── const
│  │  ├── AnimationKeys.ts
│  │  ├── AudioKeys.ts
│  │  ├── SceneKeys.ts
│  │  └── TextureKeys.ts
│  ├── game
│  │  ├── Character.ts
│  │  ├── Grass.ts
│  │  ├── Turtle.ts
│  │  └── TurtleGrass.ts
│  ├── main.ts
│  └── scenes
│    ├── GameScene.ts
│    ├── GameStartScene.ts
│    └── Preloader.ts
...
Explanation of the folder structure and the main.ts file:
- src: The source folder contains the main source code for the game.
- config: This folder contains the configuration files for the game.
- index.ts: This file contains the configuration settings for the game.
- const: This folder holds constant files that define keys for animations, audio, scenes, and textures used in the game.
- game: The game folder contains files that define the game objects and their behaviors. Important files include Character.ts, Grass.ts, Turtle.ts, TurtleGrass.ts, and more.
- main.ts: This file is the entry point of the game and handles the initialization of the game engine and scenes. Regarding the scenes, they represent different screens in the game, including the introduction screen, the main gameplay screen, and the important Preloader screen, which helps load game assets. The game folder defines various game objects and their associated functionalities, with Character.ts, Grass.ts, Turtle.ts, and TurtleGrass.ts being the most important ones. The const folder defines keys used for communication between different components, such as AnimationKeys.ts. Now, let's focus on the main.ts file.
The code snippet you provided is written in TypeScript and uses the Phaser game framework. Let's break it down:
import * as Phaser from "phaser";
import GameScene from "./scenes/GameScene";
import Preloader from "./scenes/Preloader";
import GameStartScence from "./scenes/GameStartScene";
This section imports the necessary modules and classes from the Phaser framework and your custom scene files (GameScene, Preloader, and GameStartScene).
const config: Phaser.Types.Core.GameConfig = {
  type: Phaser.AUTO,
  pixelArt: true,
  width: 384,
  height: 600,
  audio: {
    disableWebAudio: true,
  },
  physics: {
    default: "matter",
    matter: {
      // debug: true,
      gravity: {
        y: 5,
      },
    },
  },
  scene: [Preloader, GameStartScence, GameScene],
};
This section defines the configuration object for the Phaser game. Here are the key properties:
type: Phaser.AUTO: Specifies the rendering type for the game, automatically choosing the best available renderer.pixelArt: true: Enforces pixel-perfect rendering for pixel art games.width: 384andheight: 600: Sets the dimensions of the game canvas.audio: { disableWebAudio: true }: Disables the usage of Web Audio API for audio playback.physics: { default: "matter", matter: { ... } }: Enables the Matter.js physics engine as the default physics system for the game. It also specifies gravity with a value of 5 in the y-axis direction.scene: [Preloader, GameStartScence, GameScene]: Defines an array of scene classes to be used in the game. The order of the scenes determines the execution order.
export default new Phaser.Game(config);
This line exports a new instance of the Phaser. Game class, passing the configuration object (config) as an argument. This statement starts the game with the specified configuration.
Step 3: At this step, the story begins because we will build functionalities for each object: character, grass, and turtle. Handle physics for each object and how they interact, also known as the collision between them.
Here, I won't go into detail about the configuration. Instead, I'll focus on the challenges I encountered during the development process with a specific example of the interaction between the turtle and the grass
The first issue I encountered was related to using the Container class of Phaser when combining the Turtle and Grass objects. This caused the bounding box position to shift within the physics system.
Containers can be given a physics body for either Arcade Physics, Impact Physics or Matter Physics. However, if Container children are enabled for physics you may get unexpected results, such as offset bodies, if the Container itself, or any of its ancestors, is positioned anywhere other than at 0 x 0. Container children with physics do not factor in the Container due to the excessive extra calculations needed. Please structure your game to work around this.
After reading the documentation on Phaser 3, I realized that reconfiguring the bounding box coordinates is indeed challenging. Therefore, I came up with a second solution, which is to use Layers instead of the Container class.
Instead of grouping the Turtle and Grass objects within a Container, I utilized Layers to organize and manage the objects. Layers provide a way to organize and control the rendering order of game objects.
By placing the Turtle and Grass objects on separate Layers, their collision detection and physics interactions became more straightforward. The bounding boxes of the individual objects were accurately aligned with their positions on the Layers, eliminating the need for manual adjustments.
Using Layers allowed me to maintain the individual properties and behaviors of the Turtle and Grass objects while ensuring correct collision detection and physics simulation. I could handle their interactions more effectively without the complexities introduced by the Container class.
With this solution, I was able to achieve the desired collision and physics behavior between the Turtle and Grass objects, providing a smoother and more accurate gameplay experience.
// TurtleGrass.ts
export default class TurtleGrass extends Phaser.GameObjects.Layer {
  private turtle: Phaser.GameObjects.Sprite;
  private grass: Phaser.GameObjects.Sprite;

  private duration;

  private frameRate;

  private grassMaxAmplitude;
  private grassMinAmplitude;


  constructor(scene: Phaser.Scene, x: number, y: number, duration: number = durationDefault, left: boolean = false) {
    super(scene);

    this.frameRate = (durationDefault / duration) * frameRateDefault;

    this.duration = duration;

    this.grass = new Grass(scene, x, y);

    this.grassMaxAmplitude =
      x + (this.grass.width - turtleSize) / 2 + approximately;

    this.grassMinAmplitude =
      x - (this.grass.width - turtleSize) / 2 - approximately;


    const turtlePositionXDefault = left ? this.grassMinAmplitude : this.grassMaxAmplitude;

    const turtlePositionYDefault = y - this.grass.height / 2 - 5;
    this.turtle = new Turtle(
      scene,
      turtlePositionXDefault,
      turtlePositionYDefault,
      this.frameRate
    );

    this.turtle.play(AnimationKeys.TurtleRun);

    this.add(this.grass);
    this.add(this.turtle);

    this.startTurtleSwing(x > turtlePositionXDefault ? true : false);

    scene.add.existing(this);
  }
  private startTurtleSwing(flip: boolean) {
    this.scene.tweens.add({
      targets: this.turtle,
      x: flip ? this.grassMaxAmplitude : this.grassMinAmplitude,
      duration: this.duration,
      ease: "Linear",

      onComplete: () => {
        this.startTurtleSwing(!flip);
      },
    });
  }
}
And here is the result:
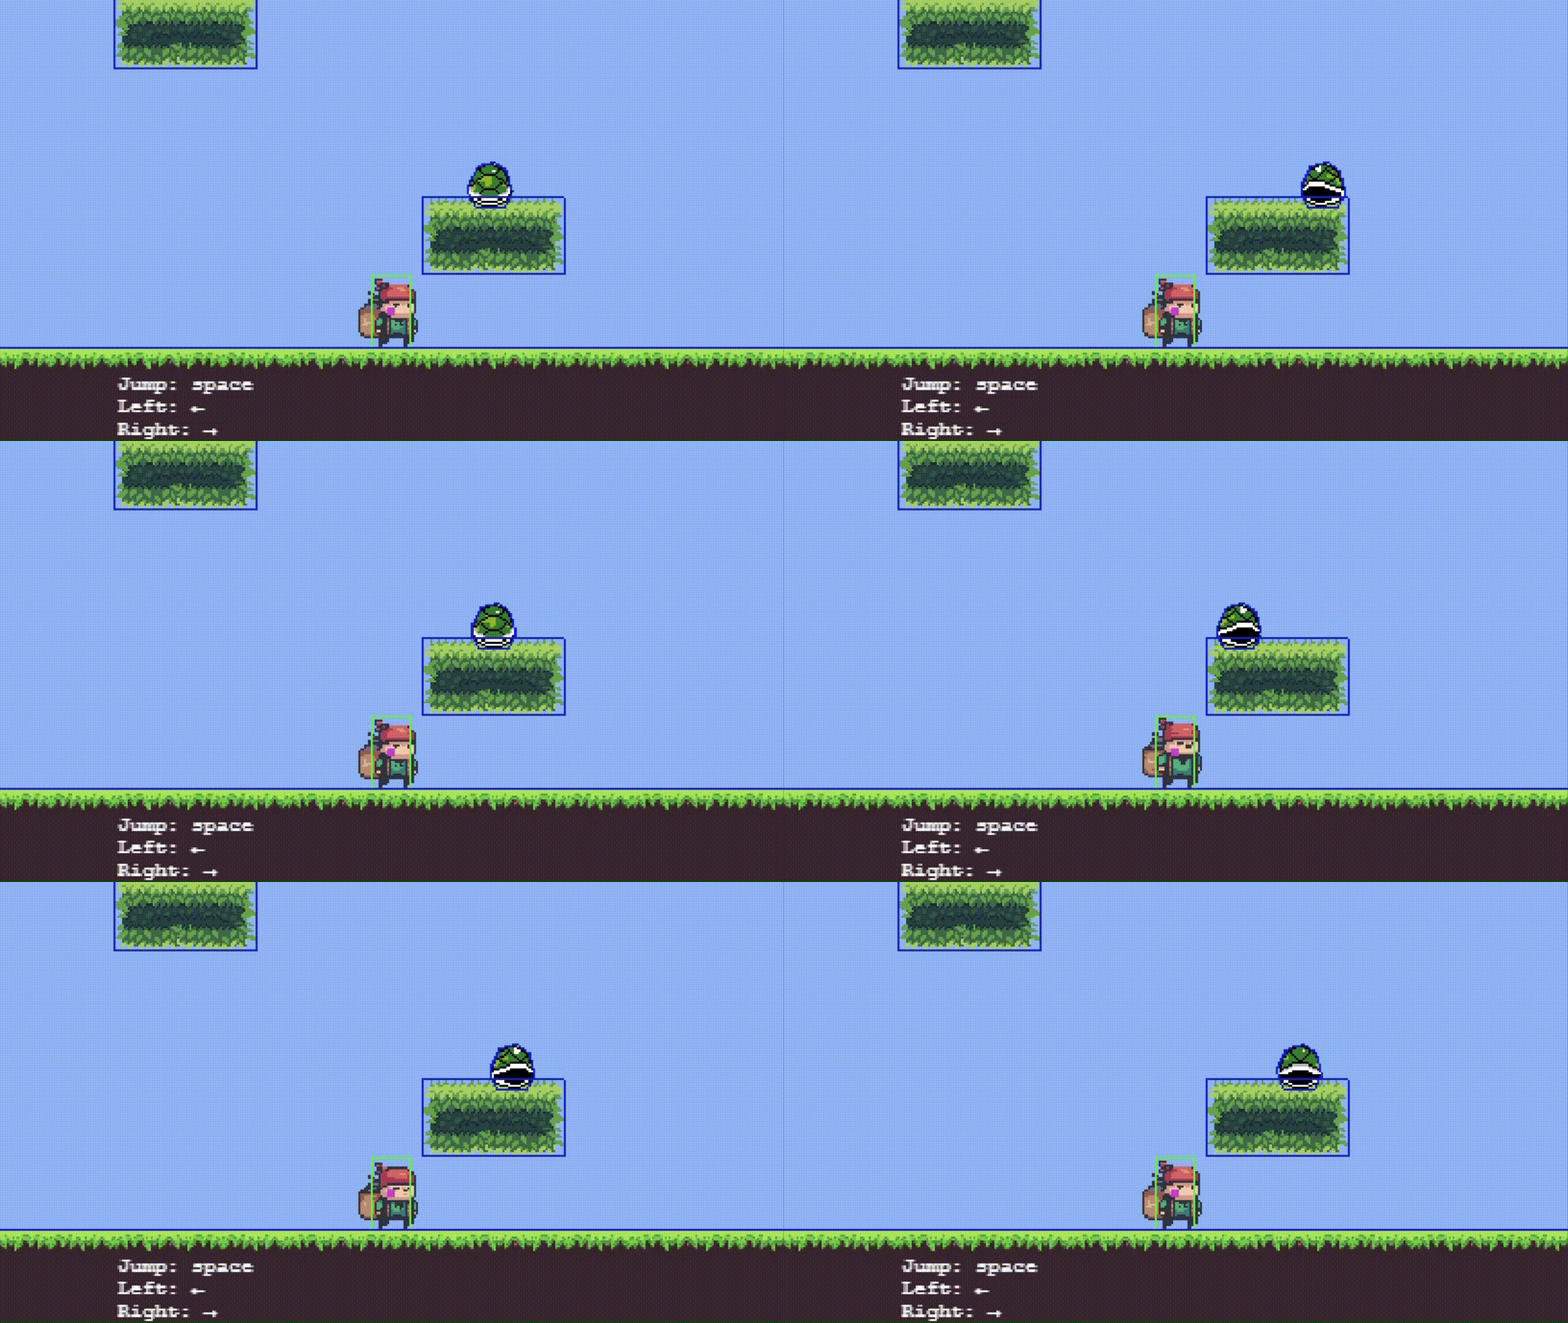
You can see that by default, the bounding boxes of objects in Phaser are typically rectangular, square, or circular. However, is it true that the bounding box of the turtle shell conforms to the shape of the turtle?
To achieve that, we can use a tool such as PhysicsEditor. PhysicsEditor is a popular tool used for creating custom-shaped bounding boxes for game objects.
With PhysicsEditor, you can import the graphics of the turtle shell and trace its outline to create a custom polygonal shape that accurately matches the shape of the turtle shell. This custom shape can then be exported and used as the bounding box for the turtle object in Phaser.
By using PhysicsEditor or similar tools, we can create precise and custom-shaped bounding boxes that conform to the shape of the game objects, such as the turtle shell. This allows for more realistic and accurate collision detection and physics interactions in the game.
And this is also the second issue that I encountered. 😅
To help you visualize, here is an example of how I load assets.
// Preloader.ts
import AudioKeys from "../const/AudioKeys";
import SceneKeys from "../const/SceneKeys";
import TextureKeys from "../const/TextureKeys";
import * as Phaser from "phaser";

export default class Preloader extends Phaser.Scene {
  constructor() {
    super(SceneKeys.Preloader);
  }
  preload() {
    this.load.image(TextureKeys.Background, "assets/background/background.png");
    this.load.image(TextureKeys.Play, "assets/play.png");
    this.load.image(TextureKeys.Logo, "assets/skybound.png");
    this.load.image(TextureKeys.Teleport, "assets/teleport.png");

    this.load.image(TextureKeys.Cloud1, "assets/cloud/cloud_1.png");
    this.load.image(TextureKeys.Cloud2, "assets/cloud/cloud_2.png");
    this.load.image(TextureKeys.Cloud3, "assets/cloud/cloud_3.png");
    this.load.image(TextureKeys.Cloud4, "assets/cloud/cloud_4.png");
    this.load.image(TextureKeys.Cloud5, "assets/cloud/cloud_5.png");
    this.load.image(TextureKeys.Cloud6, "assets/cloud/cloud_6.png");

    this.load.audio(AudioKeys.JumpSmall, "assets/audio/jump-small.wav");
    this.load.audio(AudioKeys.Bump, "assets/audio/bump.wav");
    this.load.audio(AudioKeys.Stomp, "assets/audio/stomp.wav");
    this.load.audio(AudioKeys.WorldClear, "assets/audio/world-clear.wav");
    this.load.audio(AudioKeys.Background, "assets/audio/background.mp3");
    this.load.audio(AudioKeys.PipeTravel, "assets/audio/pipe-travel.wav");

    this.load.image(TextureKeys.Grass, "assets/grass/grass.png");

    this.load.image(TextureKeys.Ground, "assets/ground/ground.png");

    this.load.json(
      TextureKeys.TurtleShellPhysic,
      "assets/turtle-shell/turtle-physic.json"
    );

    this.load.atlas(
      TextureKeys.Character,
      "assets/character/character.png",
      "assets/character/character.json"
    );

    this.load.atlas(
      TextureKeys.TurtleShell,
      "assets/turtle-shell/turtle.png",
      "assets/turtle-shell/turtle.json"
    );

    this.load.atlas(
      TextureKeys.TurtleFlying,
      "assets/turtle-flying/turtle-flying.png",
      "assets/turtle-flying/turtle-flying.json"
    );
  }
  create() {
    this.scene.start(SceneKeys.GameStart);
  }
}
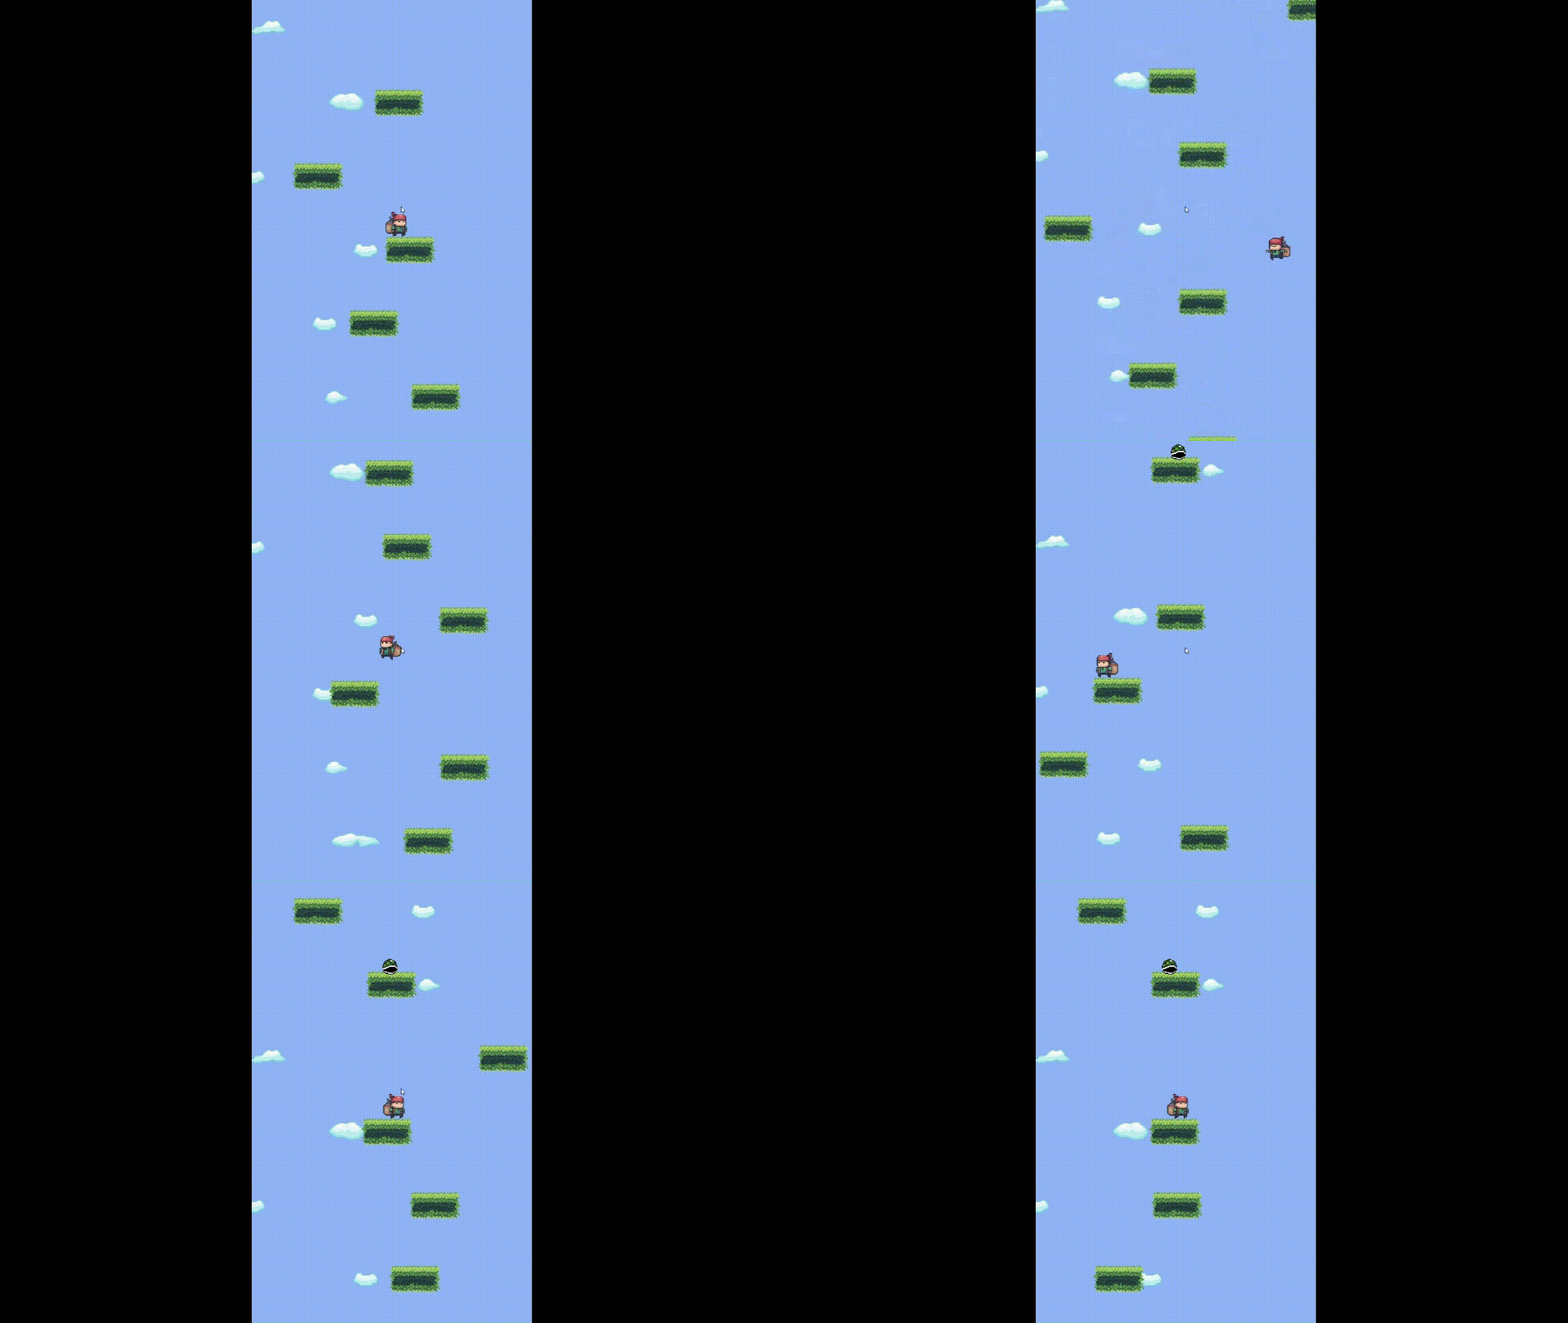
And here is the final product after 5 days of research and development on my application.